Showing posts with label DIY. Show all posts

Monday, December 16, 2013

DIY: Christmas Pocket Tee


I am so excited to share today's DIY project! For some reason people love t-shirts with pockets. I'm not exactly sure why a pocket makes a t-shirt 10x better, but it does, and I love it. So, if you have a little bit of time and a few products, this is a really easy, inexpensive gift to make for Christmas! I'm really happy with how these turned out. Here's the step by step process of how I made these.


Step 1: Gather your supplies. You will need: blank t-shirts, fabric, scissors, pins, rulers, and preferably a sewing machine.


Step 2: Cut out squares of fabric as well as a template for your pocket. You can print one or trace it for yourself. This will help to fold your pocket.


Step 3: Wait for your dog to move out of the way. Really, she insists on sitting right where I need to be.


Step 4: Use the template to help fold the fabric into the form of a pocket square. Then, pin the fabric into place.


Step 5: Sew along the upper part of the pocket.


Step 6: Pin your pocket square onto the t-shirt (as seen above) to prepare it for the sewing machine. It also really helps to have a pocket t-shirt or button down shirt next to you so you can position the square onto the t-shirt in the right place. Do not pin the top of the pocket!


Step 7: Sew the square onto the shirt. It would be possible to sew this by hand, but using a machine is a bit more practical. My mom graciously helped me during this part, because although I can sew, it would've taken me ages. (Thanks, mom!)


Voila! Now all you have to do is wrap these up & you have the perfect Christmas present! It takes a bit of extra time, but I think the result is worth it. My friends really liked this present, & now my mom even wants one for herself!

(WHAT? 10!)

Saturday, December 7, 2013

DIY Light-Up Christmas Sweater

Happy Saturday to you! It is a bit odd posting on a Saturday, but in the spirit of Christmas I am committed to these 25 Days of Blogging. Today's post is an homage to what has become one of my most prized possessions... my Christmas sweater. I assembled this together about a month ago now for a tacky Christmas occasion, and I have quite a few other times I can wear it in the upcoming weeks.


I've actually found it quite difficult to find really classic, tacky Christmas sweaters. I got this one at Walmart, where you can always find something terribly tacky. By the way, my hat and my shoes in the picture above are both from Target!


The sweater did take a while to put together, but I'm so happy I did. I had 3 strings of battery powered lights from posters I made for a Taylor Swift concert, so I used 1 string of white lights on the front, and 2 red on the back. I just poked the lights through the sweater and used a lot of duct tape to keep them on there. The lights do weigh down the sweater, especially in the back, but I really don't mind. I couldn't be happier with how the sweater turned out!

Enjoy your Saturday! Come back for another post tomorrow!

Thursday, August 1, 2013

DIY: ♥ Collage

For this Thursday's Theme, I want to share a few back to school tips with you all. This DIY would be perfect to fill up an empty dorm wall, or add a little life to any room. About a month ago I rearranged my room and took down what used to be a big, fluffy, hot pink headboard. Oh, it was glorious, don't get me wrong, but it was definitely time for a change. I've been wanting to do this in my room for a while and finally got around to doing putting it up. Here are the steps I took:


1. Find yourself a nice open wall. I chose the space above my bed, but anywhere will work! (& yes, that is my teddy bear...)

2. Gather a bunch of photos & something to hang them with. I had some painter's tape, which isn't the best option, but it works. I used 19 photos in total-- 5 portrait & 14 landscape.

3. Lay out your photos in the order/arrangment you'd like. Add more or less photos depending on the wall space you are filling.

4. Apply tape to the back of each photo.


5. Recruit a cute puppy to help you hang them up. I'll admit.. I didn't do any proper measurements & just eye-balled it. I had to move the photos around 2 or 3 times before I was happy with it.

6. Voila! A fun, super inexpensive way to decorate your walls.

Be sure to look out for another Back to School post next Thursday! Have a lovely day & happy August!

Friday, July 26, 2013

Photo Friday

Well, another exhausting week has passed! I've just been staring at my calendar the past couple days wondering where summer went. It seems like it's flown by! I do have about 2 weeks left though, so I'll be sure to enjoy it while it lasts. Here are a few snapshots from the past couple weeks for you to feast your eyes upon. I hope you have an absolutely wonderful weekend!


Waiting for Amanda to finish in the dressing room at Urban Outfitters. Fun fact: 10 minutes later we were drenched from head to toe by the rain.

Did a bit of Alpha Gam crafting for my future little!

Anna finally returned from studying abroad all Summer. We went to the Macaroni Grill with her mom & dad and I drew her on the table. 'Twas a lovely time.

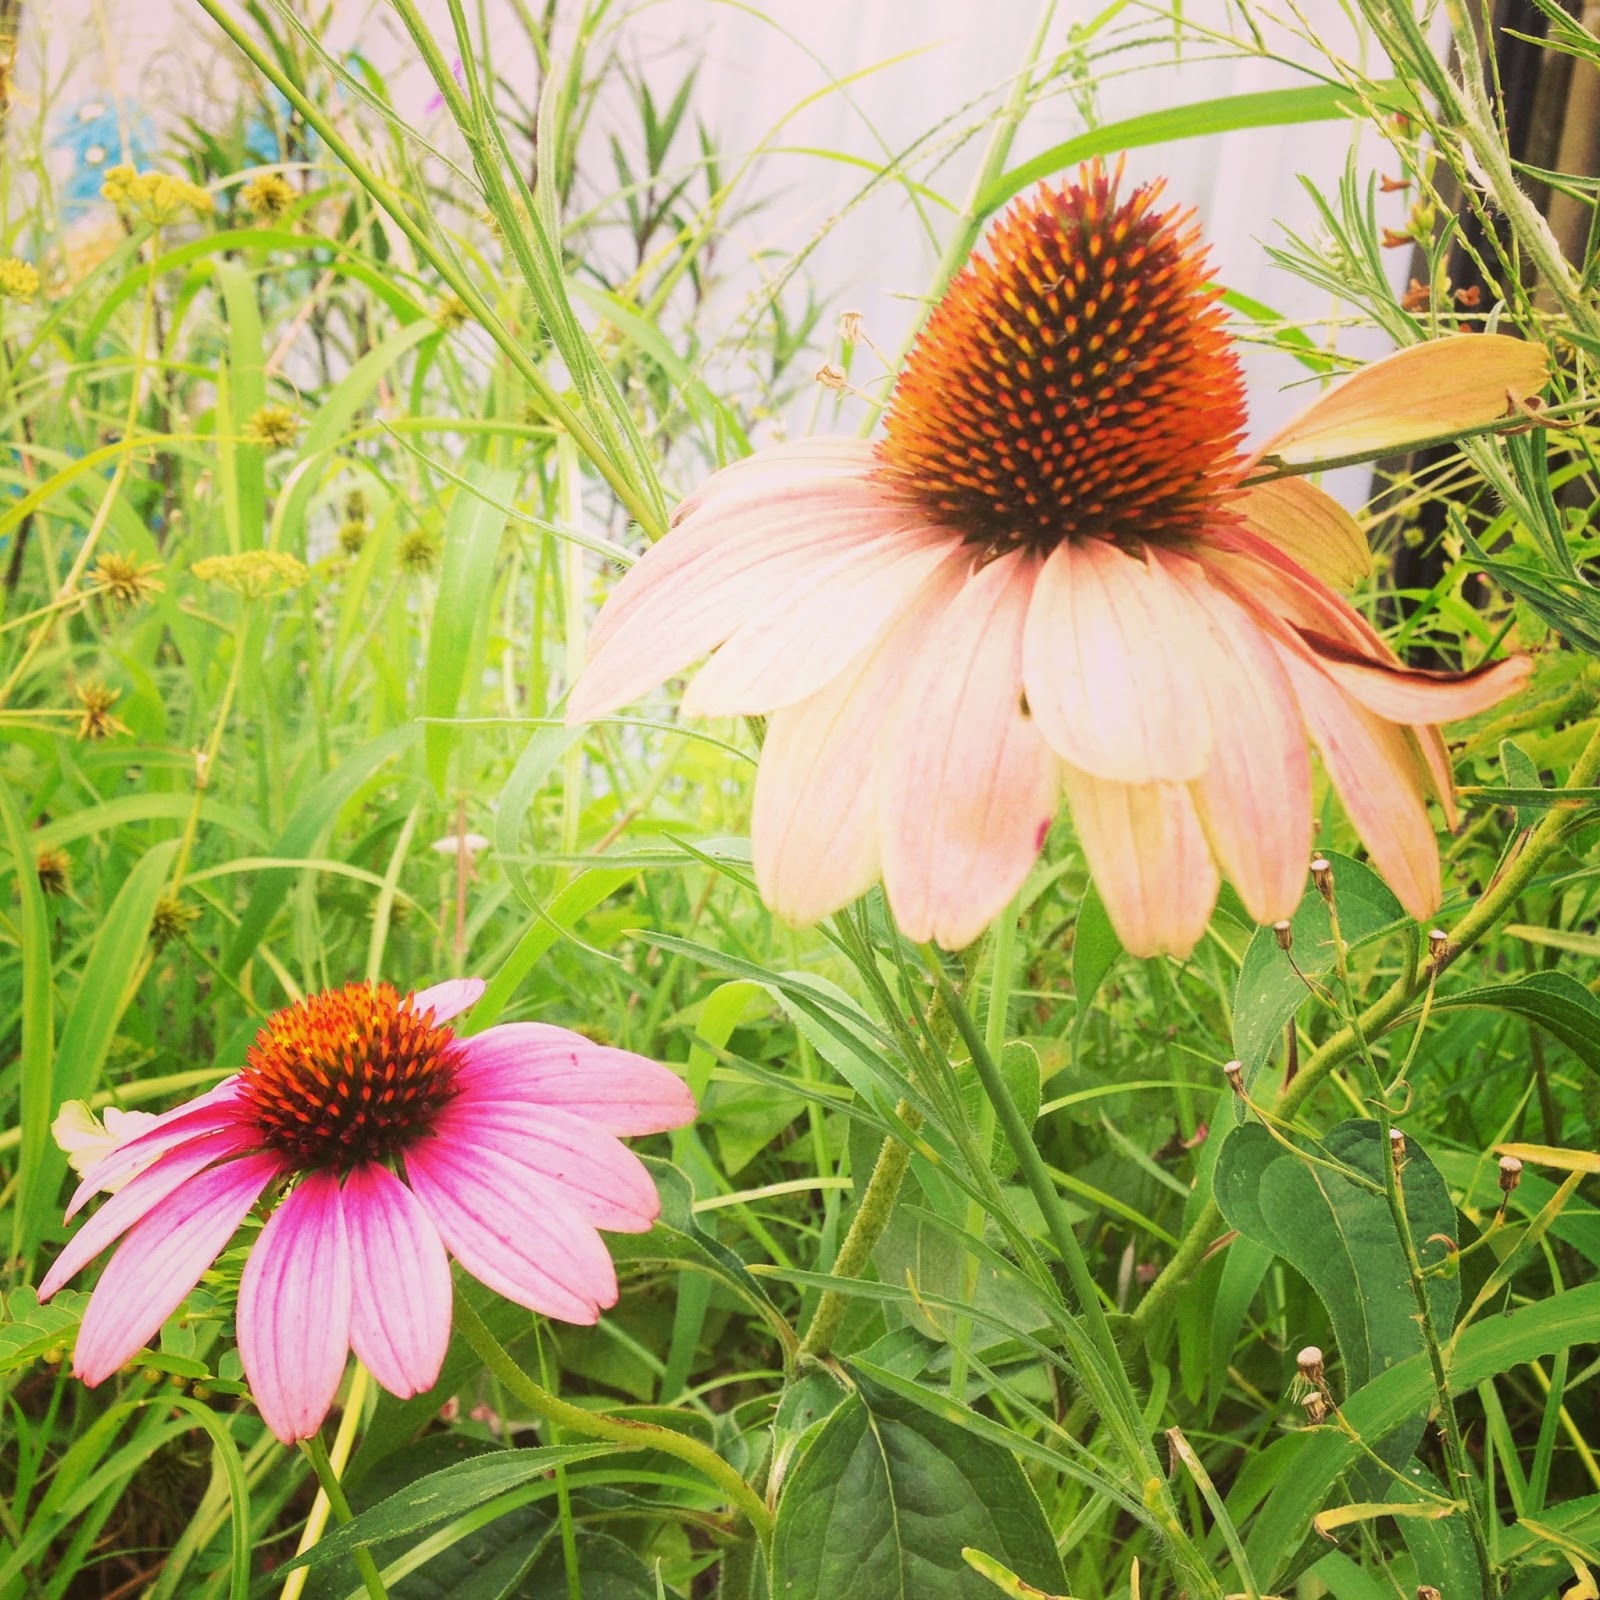
I took a moment to stop and smell the Cone Flowers at work. Such pretty little things they are!

Although her stay was short, it was great to be reunited with one of my best friends.

Did a bit of monkeying around at work! Haaaaa. (So sorry.)

My first throwback on Instagram, such a momentous occasion. Many family photos were taken in that Sunflower field. I miss it!

A future DIY project! I was too excited not to go ahead and share it.

Don't forget to follow:

Thursday, July 25, 2013

DIY: Sea Glass Frame

Back in May my family and I went up to Maryland for my brother's graduation. We were staying at a house right on the water, and spent a lot of time walking on the beach looking for sea glass. I've been wanting to do something with it for a while, and just recently gave an old picture frame a makeover.

I picked up these 2 frames at Goodwill. I think they were even on sale, and my total came out to be 75 cents or something crazy cheap like that. I ended up using the one on the right for this project!

I painted the frame first with this acrylic paint -- huge mistake. What was I thinking? I got this because it is usually the cheapest paint I can find. It took a million layers, but it turned out just fine. I used tacky glue to adhere the sea glass on, which worked very well.


A few of the pieces we found while collecting.


Waiting for everything to dry! It was a night of crafting, so I was making this while watching Identity Thief. Fun times.


I've yet to print any photos from the Annapolis trip, so until then this photo is hanging out in the frame. A throwback to one of my mission trips with my best friends.

I hope you all enjoyed this DIY! I like to keep things simple when it comes to these projects. In the next couple weeks I'll be sharing a few DIY ideas on how to spruce up your dorm room, so stay tuned!

You can check out my last DIY here!

Thursday, July 11, 2013

DIY: Bird Cage Revamp

For this month's Thursday Theme I wanted to share a few easy & inexpensive do it yourself projects that I've been working on. When I say easy, I mean really easy. I bought these two small bird cages at Michaels a few weeks ago and wanted to do something fun with them. The black and orange didn't exactly go with the colors in my room, so I just spray painted them white. Really simple, really easy, and I think they add a nice touch to my room. After reorganizing my room (as seen here), I needed a few more decor pieces to fill some spaces.


It took several coats, but I love how they turned out. The total cost was about 3 dollars I believe. I don't have the Michaels receipt, but the cages were on clearance and BOGO! I also just used spray paint I found (thanks Amanda)... so that didn't cost me anything! Be sure to come back next Thursday for another (slightly more complicated) DIY project!